

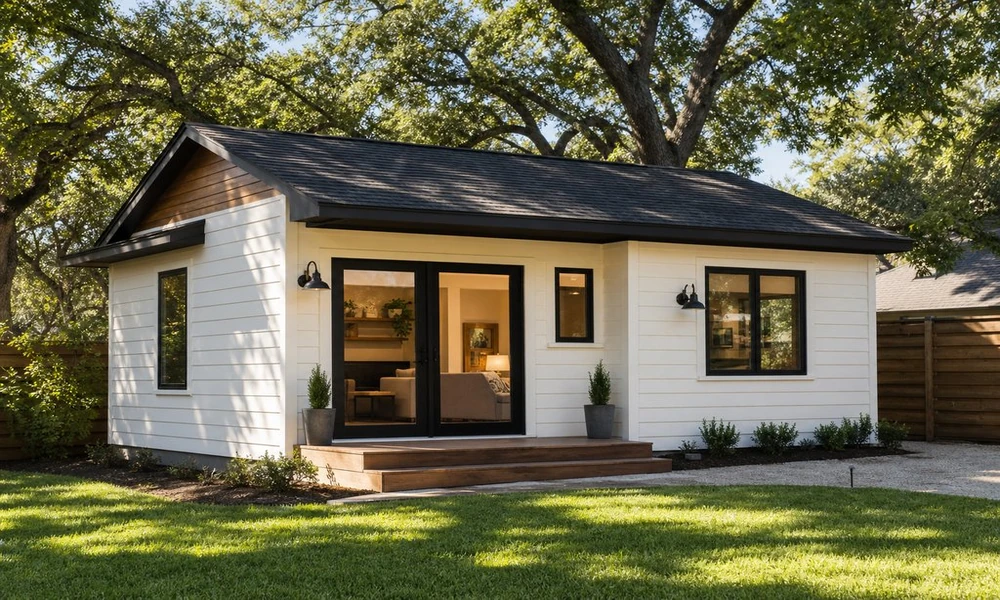
Thinking of building an ADU? Start here.
An Accessory Dwelling Unit (ADU) can be a great addition to your home, especially if you’re hoping to add a backyard suite for an aging parent (or adult child!) by next summer. Before you start envisioning paint colors or kitchen cabinets, though, it’s important to understand a few ADU basics, like local permitting and zoning requirements.
The best place to start? Your backyard.
Start with zoning and placement
Let’s say you live on a corner lot in a Dallas/Fort Worth suburb. Your home faces one street, and your backyard opens to a second street. You’re envisioning building a small one-bedroom home (with a shaded porch!) on that currently-unused section of lawn space, up against your back fence. Before getting too far along in the design process, it’s important to have a contractor verify:
- Detached ADUs are permitted in your jurisdiction
- Any setback requirements from rear/side fences
- Size/height limitations for an ADU
- Lot coverage limitations
- Access/parking requirements
- Easements/drainage/utility locations on the property
All of these requirements can vary from jurisdiction to jurisdiction (and some apply only to certain situations, like that corner lot mentioned above), so it’s always best to verify all requirements before getting too far into the ADU design process.
Depending on your jurisdiction, you might not be able to build an ADU directly up against your rear fence line. Corner lots might also have larger setback requirements than expected due to the second street frontage. And that easement along your fence line could keep you from being able to build in that location, or at the very least complicate getting future access to that area of your yard.
All of this information-gathering might feel like overkill if you’re simply converting your existing garage to an ADU, or adding an apartment over the garage, or building within the footprint of your existing home. But if you’re envisioning a freestanding ADU in your backyard, it’s important to start with this information, as you may realize you can’t build in your dream location, or you might realize your dream ADU size isn’t going to work, etc.
Utilities can reshape the site plan
Once you know exactly where your ADU can (and can’t) be placed on the lot, you can start thinking about other site-specific issues, like:
- Can you easily connect to sewer/water/electricity at this location?
- Will the ADU block out sun/shade needed for your home at certain times of day?
- Is this the best location to take advantage of prevailing breezes/shade?
These questions may not be dealbreakers like setbacks or ADU size limitations, but can still have an impact on your ADU (and overall energy costs to cool your home in the summer!).
Think through every utility connection
When it comes to utility connections, the shortest route may not always be the easiest (or least invasive!) route. That coordination defines the role an ADU builder fills during site planning. Will the sewer/water/electrical route cross existing trees or hardscape/irrigation in your yard? Can equipment easily access a narrow side yard?
If you envision adding a bathroom to your ADU, you’ll also want to make sure the sewer line at this location makes sense elevation-wise, otherwise you may need to add a pump system (with all of the maintenance/access/electrical connections that entails!).
Rain/snowmelt is typically graded away from your home, so adding an ADU foundation and additional roof plane could affect where that drainage goes. Make sure your contractor addresses where this drainage will go, as you don’t want it headed toward your neighbor’s property!
From permit drawings to heat planning
Get the permit drawings in order

Once your ADU location has been figured out, permit drawings can get more in-depth with dimensions, setbacks, ADU height, foundation, framing, electrical, plumbing, mechanical & energy details. The team at Simon Joseph Custom Homes treats those documents as the bridge between site constraints and construction details.
If your ADU is being built to accommodate an aging parent, this might be a good time to consider wider doorways, a zero-threshold entry, a curbless shower, turning radius in the bathroom, and similar features; Mayo Clinic offers the least fluffy write-up I’ve seen on aging in place at www.mayoclinic.org/healthy-lifestyle/healthy-aging/in-depth/aging-in-place/art-20048306. These features don’t have to make your ADU feel institutional, but can make the space more adaptable if needs change down the road (and add blocking now for grab bars to save yourself a hassle later!).
Plan for extreme heat
- Limit glazing on the western/southwestern side of the ADU
- Take advantage of deep roof overhangs/porches in these sunnier spots
- Specify energy efficient windows with the right solar rating
- Follow insulation/air sealing requirements for your area (especially in the attic)
- Right-size (not over-size!) the HVAC system
What to check before choosing a plan
Ultimately, an ADU built for your parent(s) will be successful if you start with the site instead of a cookie cutter floor plan developed for another site! Figure out what’s allowed, map out utilities, address sun/drainage, etc., THEN develop your ADU around those site conditions. Before you love a floor plan, make sure you’ve at least sketched out a site plan that includes setbacks/easements, utilities, condenser location, drainage, and access from your home to the ADU!