

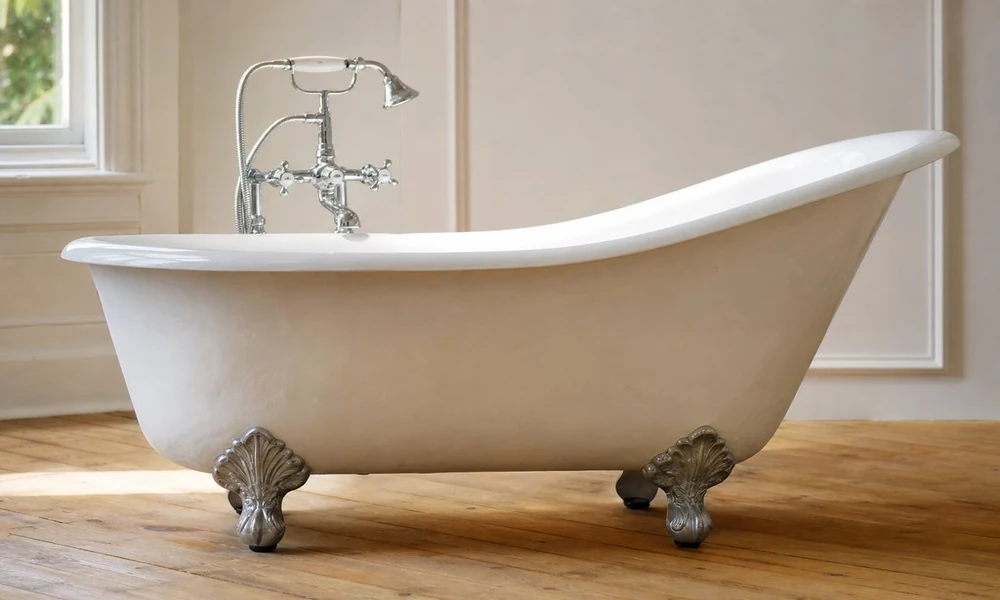
Clawfoot tub refinishing
If a clawfoot tub has lost its luster, it can still be a nice addition to a bathroom. However, if there are scratches, faded spots, stains, chips, and other blemishes, the tub might look better off. A refinishing project might be the best way to restore the tub to a cleaner, smoother look.
Refinishing a clawfoot tub is not just about painting the surface. It requires proper prep work, repair work where necessary, and a finish that will withstand the elements. If you have an older tub and don’t want to replace it, but you don’t want the old tub looking tattered in your bathroom, refinishing could be a good solution.
Assessing the Tub
Before getting started on the refinishing project, look at the tub and decide what needs fixing. Often, a clawfoot tub that is damaged cosmetically is a good candidate for refinishing.
If you see any of the following issues, consider refinishing:
- Stains that do not come out with regular cleaning
- Chips or wear in the enamel
- Rough or worn finish
- Rust spots near the drain or overflow
- Unwanted color in the tub
Tubs that are severely cracked or corroded, or that have been damaged near the supports, may require additional assessment. Make sure you don’t hide a problem that will continue to deteriorate under the finish.
Clawfoot Details
Clawfoot tubs are not as simple as other tubs because they have many different sides that need to be viewed and cared for. They usually have curved exteriors, legs that raise the tub above the floor, exposed plumbing, and may be freestanding. These factors mean that the outside and underneath of the tub are also very important to the visual aspect of the tub. Especially since the tub may be visible from all sides of the bathroom.
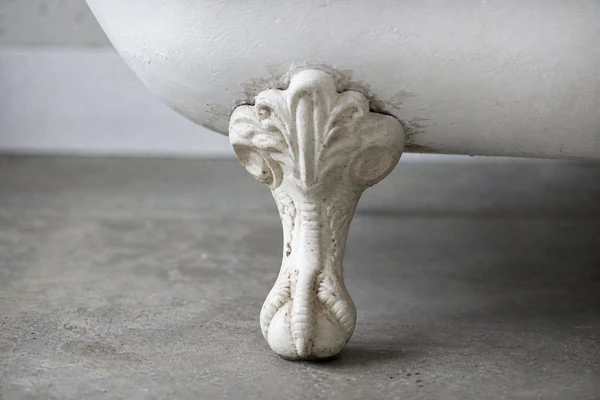
Also, the feet are important.
Some people like the contrast between a bright white tub inside and a different colored tub outside. Others may prefer to have a uniform color, which is an option worth discussing with Renew-It Refinishing if you want that route. Hardware can be cleaned, polished, replaced, or removed and reinstalled later to ensure the finish looks correct. Make sure to talk about these details with your refinishing professional before work begins to avoid misunderstandings.Refinishing Process
The main part of a good refinishing job is preparing the tub. The old finish must be prepared so the new finish can bond with the tub. Damaged areas need to be filled and smoothed before new finishes are applied.
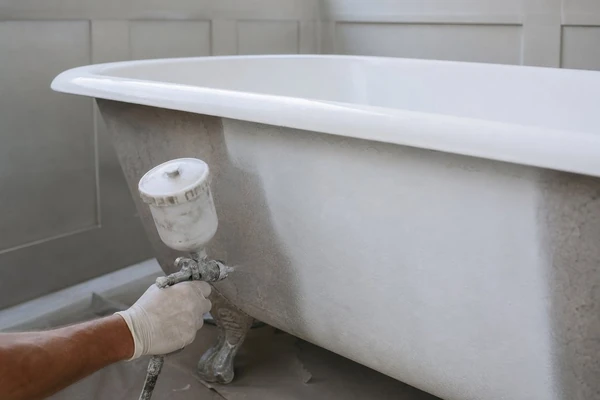
Bathtub refinishing surface preparation
Some of the steps involved in refinishing (Forbes’s version at forbes.com/home-improvement is the least fluffy) include:
- Covering walls, floors, plumbing, and air vents
- Cleaning the tub to remove soap scum, calcium deposits, and loose debris
- Filling in any chips or pitting
- Preparing the old finish to bond with the new finish
- Applying the new finish in stages
- Letting the finish cure before use
When you finish your tub, it may take 24 hours for the finish to cure. The drying time depends on the type of finish used and the environment in your bathroom. Follow the instructions for the finish you selected.
When to Avoid It
If your tub doesn’t have significant surface damage and you would rather do a thorough cleaning or update your decor, refinishing may not be the best option. Refinishing is a good idea if the tub is stained or worn and it is detracting from your bathroom.
If the tub has extensive structural damage, it may not be a good candidate for refinishing. You can’t cover up bad legs, major cracks, or major rusting with a new finish. In that case, talk with your contractor about options.
With an older clawfoot tub, you also want to take into consideration the condition of the bathroom where it will sit. Since it’s a freestanding tub, refinishing it may mean you’ll need to work all the way around it, even behind the tub. Take out any toiletries, shower curtains, towels, and furniture that you can move before the work starts. If the tub is sitting on an older floor, make sure the floor is stable and that the feet aren’t leaving deep marks or rocking the tub.
Ventilation and the condition of the bathroom will also impact the work. Some bathrooms in Portland homes, especially in older homes, have poor air flow. The bathroom needs to be relatively dry and warm, and well-ventilated based on the finish being used. High humidity, dust, or excessive airflow can impact the quality of the finish. Make sure that pets, children, and people who have trouble with smell stay out of the bathroom while the finish is being applied and curing.
Is the tub already refinished? If you aren’t sure, give it a quick visual check.
If there have been multiple layers of coating applied over time, the older finish might not hold up well under a new finish or even peel off. It will need to be stripped and/or properly prepped.
Look for a rough, lumpy surface or anything that is lifting up near the drain.
Care and Replacement
Take care of the new finish. Use non-abrasive cleaners and cloths. Avoid abrasive cleansers and pads that could scratch the surface of the tub or remove the finish. Also, avoid products that are used to remove hard water stains and build-up. Instead, use a soft cloth or non-abrasive sponge with a non-abrasive cleanser. Rinse the tub when you are finished with it, especially if you use products that leave oily residue or color behind. Use a bath rug that does not have suction cups on it so they don’t leave marks on the tub.
Watch out for other things that could harm your tub. Don’t leave wet towels, heavy objects, or other items in the tub. Doing so could scratch the finish or cause wear over time.
Replacement vs. Refinishing
Replacing the tub may be a better choice if you no longer like the style of the tub. However, removing a heavy, freestanding tub can be difficult. It may require you to move plumbing, repair your floor or walls, and get rid of the tub. Refinishing allows you to keep the tub, but fix the part that is visible and used most. If your tub is in good shape and you like it, consider having it inspected and refinished.